How To Edit WooCommerce Emails With And Without Hooks
We just finished up a new shop for a client and it turned out great! One thing we wanted to add was a message to customers after they order that goes in the order received email.
There are many ways to do this with WooCommerce, but nothing is really straight forward. There’s no easy editor in there by default that lets you change anything like you can on a page.
We didn’t want to add anything fancy to the emails, just a simple text message. But I do see some of these methods working for more complicated things.
Being the nerdy type, we opted for the programmatic way of adding text through the use of hooks. But you don’t have to do it that way, there’s 3 main methods to adding stuff to the Woocommerce emails:
Click to jump down
Built-in Options
Woocommerce does allow you minimal options for editing the emails that it send out.
And I do mean minimal.
You can change some colors, add some text in predefined places, and change the subjext/heading text. That’s about it.
For many people, that might be enough. For a simple store, the default options are great.
You can access this by going to WooCommerce -> Settings -> Emails.
You’ll see a screen like this:
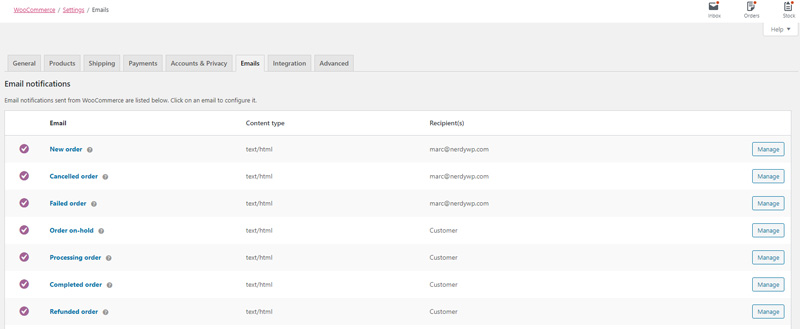
This part of the settings panel shows you what emails are sent out. The names of each one lets you know when they are sent. FYI, the “Processing Order” email is the first email a customer gets when the place an order. It’s the “we just got your order” email.
It also lets you know who gets the email and gives you an option to edit stuff. Here’s what those options look like:
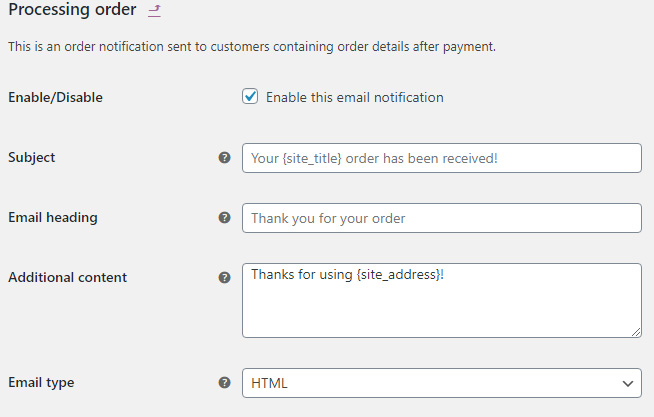
This area lets you change the subject and heading of the email. You can also add a few lines to the bottom of the email in “Additional content”.
In emails that are sent to you, the store owner, you can add as many emails as you want so that all your employees can see that you got an email.
There are more options below the main settings area:
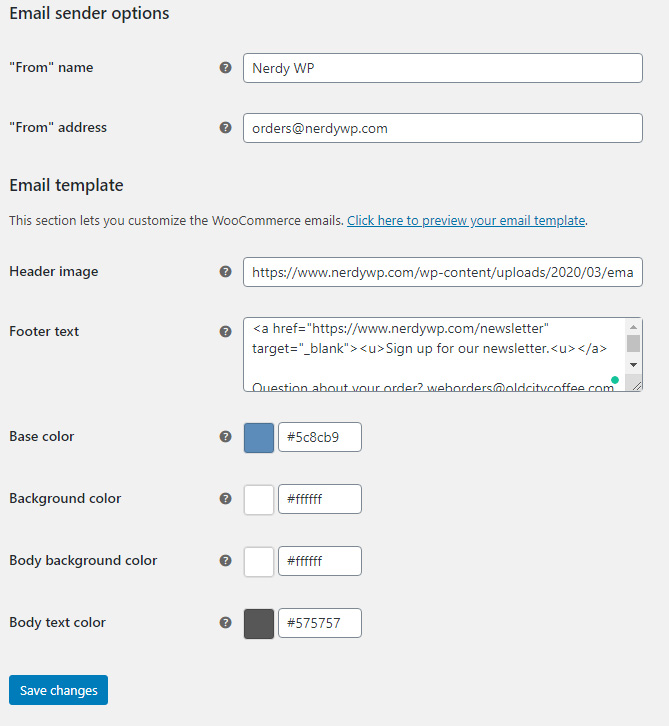
This is the area that gives you the most customization.
- You can add a header image. You’ll need to upload it to the media gallery first. Then grab the URL to paste in here.
- The Footer text area accepts HTML but it doesn’t need to be. You can just put text here.
The best part here is the “Click here to preview your email template”. I don’t know why it’s so hidden, but clicking that will let you see a simple version of what your customers see. You can use this to test what you’re currently entering into the settings.
Plugins
While I’ve never personally used a plugin to edit the Woocommerce emails, I was able to find a few great options. I won’t go into depth them, because I’ve never used them. But here’s a few good ones I found:
Hooks
Here’s some info on how to edit WooCommerce email with hooks. You can use them with this code placed in the functions.php file of your theme.
add_action( 'HOOK NAME HERE', 'add_something_to_email', 10, 2 );
function add_something_to_email( $variables_go_here ) {
	echo "Thanks for shopping with us. We appreciate you and your business!";
}
Here's a filled out example
add_action( 'woocommerce_email_before_order_table', 'nwp_add_to_email', 10, 4 );
function nwp_add_to_email( $order, $sent_to_admin, $plain_text, $email ) {
       echo "This is a message added via a hook!";
}
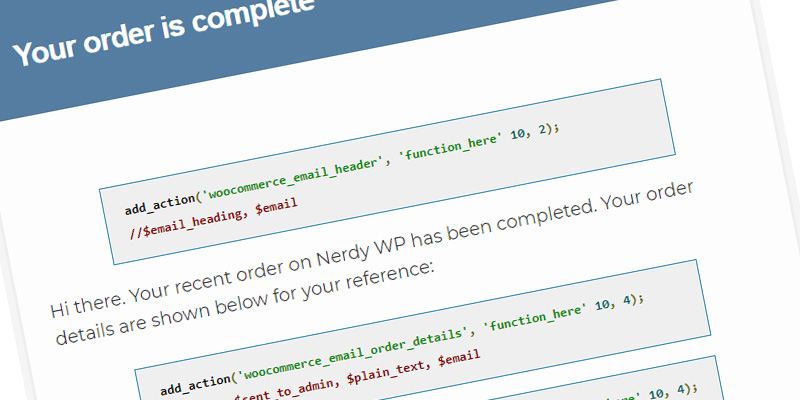
Below is an example of the order processing email that is sent to the customer. This is the first email that they receive. All emails follow this hook structure, though.
|
||||||||||||||||||||||||||||
