If you have a WordPress website you’ll probably want to protect it with an SSL certificate. SSL stands for Secure Socket Layer that, simply, encrypts data from a person’s web browser to the server.
This stops anyone from intercepting messages from a website to the server.
This is especially important for websites that take information from its users – like a form or an e-commerce website. That information could be sensitive like billing info or credit card information. You never want someone to be able to read that info being sent, so an SSL encrypts that so that even if someone did manage to get that data, they can’t read it.
Another good reason to have an SSL certificate is that Google uses this as a ranking signal. They like the web to be secure so they’ve hinted that having one could boost your rankings.
Having an SSL certificate allows your website to load using the “https://” protocol rather than the “HTTP://” protocol. Notice the addition of the “s” in there.
In modern browsers, you may also notice a lock icon that is sometimes green. The regular lock means it has an SSL certificate, but it’s not a super powerful one. A green one means that it’s got some of the highest levels of encryption, but this depends on the browser you’re using. You’ll see that bigger e-commerce stores have the green lock.
![]()
How to get an SSL certificate
There’s a few ways to get the actual SSL certificate. It’s not a piece of paper that gets mailed to you, it’s a few computer files that are strings of random characters and numbers.
Most shared hosting services will provide a Let’s Encrypt certificate for free. Let’s Encrypt is a non-profit organization that specifically provides low-tier encryption certificates.
These work perfectly for most websites that aren’t an e-commerce store. If your host offers these certificates, all you have to do is find where in their system to generate one and wait a few minutes.
If your host doesn’t offer these, you’ll need to purchase one. Prices vary depending on the level of encryption and renewal time.
There are several places to buy one. Usually the host will offer them at seriously inflated prices. Or, you can find a 3rd-party seller by Googleing it. These are generally much cheaper but you’ll have to install it yourself, which isn’t hard. I’ve had a lot of success in the past just asking their support to install and they usually do.
Once you’ve obtained your certificate, you can test it by going to “https://YOURDOMAIN.COM”. If it doesn’t work, then there’s something wrong and you’ll need to troubleshoot it. If it does work, you’re ready to set up WordPress!
How to turn on SSL on WordPress
I suggest using 2 methods to get SSL and HTTPS working on your WordPress website. You’ll need to change some data in the database and you’ll want to make sure everything forwards to HTTPS as a catchall.
Edit The Database
WordPress’ database is something you shouldn’t edit directly, so it’s best to use a plugin that finds instances of HTTP and changes them to HTTPS.
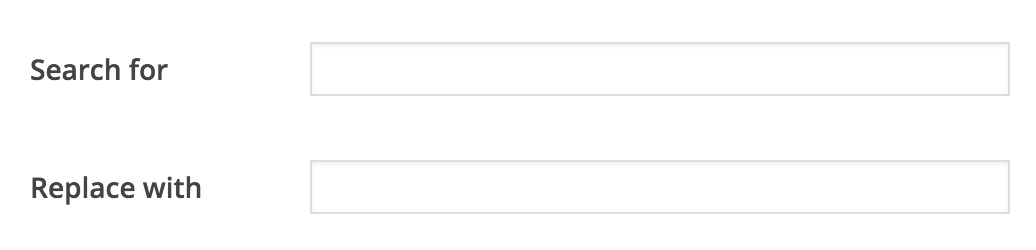
In the search for input, put “http://yourdomain.com”. In the replace with input, put “https://yourdomain.com”. This will replace any http with https.
Keep in mind, this only checks the database. You may have to check through your files to make sure it’s not in there. The most common areas to find one is in your CSS files. Some of our newer developers tend to add background images using the full URL when they should be using the relative path.
Force SSL Plugin
We also use this plugin to make sure everything gets forced to https and to use SSL. The plugin is super simple and you just press 1 button to activate it.
You could probably get away with only using the Force SSL plugin, but we like to make sure that it’s set up from the beginning and starting the database so the plugin doesn’t have much to do.
Eitherway, I suggest that all of clients get an SSL certificate. We generally only suggest hosting companies that offer it for free, so they have no problem saying yes to a free thing that we install for free!